Friday, December 4, 2009

It's Snowing in Houston!!

A rare occasion indeed. See, not a lot, but enough to have fun.


Check out my kid's outfit.  We are in to dressing ourself these days and yes those are toe socks on her hands not gloves. I love her so much, such a free spirit.


And we made this little guy.  Remember as my friend Meli said, it's Texas snow. 


Thursday, December 3, 2009

Frugal Friday: Chic and Easy Fabric Art

I spied these beautiful framed fabrics on a featured nursery room from Spearmintbaby.com.  It got me thinking, how EASY and CHEAP this project really easy.  Even if you don't have a crafty bone in your body you can make this art for your child's room.


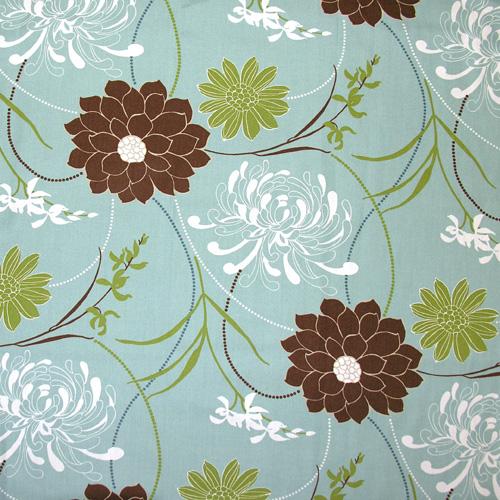
To help you out here are a few beautiful and FREE templates from the beloved Amy Butler.  To make this fabric art, start by printing your desired template on computer paper and enlarge or shrink to fit your frame as needed.  Once you have the right size cut out the template and pin it to your fabric.  Try to arrange your design so that it hits the center of the fabric pattern.  Notice above how the damask butterfly is perfectly centered over the fabric pattern?  It makes for a much more eye catching piece of art.

After you cut your fabric designs, glue or tape (double stick tape) the design to your frame back.  You can also use construction or other decorative papers to create a prettier background. 

Hope this helps sparks some decoration inspirations for your homes!  Click here for the Amy Butler patterns.


Congratulations Angela!

Angela who wrote,

"What a great idea! I can't believe the price???? I love it. I have 2 daughters and have been waiting to find prints for their rooms. I just haven't found the right thing yet. These would be adorable!"

is the winner of the vintage Barbie Prints. Angela please send your address info to vwalton@jacquelynreese.com. Congratulations!

Sunday, November 29, 2009

Win a Set of Vintage Barbie Fashion Prints


Have you been a long time admirer of these vintage Barbie Fashion prints by Robert Best?  I have always loved these gorgeous prints for my daughter's room, but not the price tag.  These collectibles sell framed only for $80 and up a print until now.

I spied the Barbie Fashion Model Collection 2010 wall calendar at Sam's Club for $7.88.  Yes you read it right, 12 beautiful 12 x 12 prints for only .65 cents each!  I stopped dead in my tracks and almost passed out I was so excited!  These prints would look stunning as a collection framed and matted in a girl's room and that's just what I plan to do with mine.


You can buy these calendars at any Sam's Club and Amazon.com or this week only you can win yours right here!  For your chance to win 12 gorgeous vintage Barbie prints from One Haute Kid just leave a comment and good luck!  The winner will be announced Thursday, December 3.

Monday, November 23, 2009

Cheap-on the-chic Winter Wear for Tots

A few adorable cold weather clothes arrived for my daughter today, some Old Navy buys that were worth every penny.  $30 to be exact with my friends and family discount.

She looks adorable in this and it's fully lined. 


And these are oh so cute!


I am over and out for the holidays.  I have been sewing like a crazy woman and need a break.  If you are waiting on bedding I promise, It's in the works and right around the corner.  Enjoy your Thanksgiving!

Wednesday, November 18, 2009

Outdoor fabric for baby bedding? But of course!

I can't even begin to count the number of times I have used outdoor fabric to make custom crib bedding for my customers. Most people would never consider the textile for a child's room, but with the huge selection of stylish fabrics available today the possibilities are endless and very deceiving (in a good way).


Outdoor fabric is designed to not fade, wrinkle and resist stains. Hello, shouldn't ALL baby stuff be made from such a textile? Of course like any fabric not all are created equal and some outdoor options are better than others. Below are just a few I scouted online and a couple I have used a time or two.

So what on earth would you make for your child from outdoor fabric? Think crib skirts, fabric for the outside of your bumpers, bumper ties, window treatments, floor cushions and play mats, hampers and changing pad covers. I could go on and on…


Monday, November 16, 2009

Shower Flowers 101: Elegant and Simple DIY Arrangements

This past weekend I co hosted a shower for one of my oldest and dearest friends Sarah.  She's expecting a boy in January so it was time to eat cake and shower her with gifts.  It was my responsibility to handle the floral decor for the event and well, I am no Eddie Ross, but I must say they turned out lovely.  Each arrangement cost only $15 and they were also gifts for the mother-to-be, and grandmothers-to-be.  Below I share with you how I put them together. 


First I headed to Sam's Club to purchase 4 dozen roses for $40.  I stuck with one type of flower to keep the cost down and the arrangements simple.  I went with the orange since it seemed fitting for fall.  Costco is also a great place to buy flowers in bulk for cheap and FYI; you can place your order in advance with the florist and select the exact color roses you want.


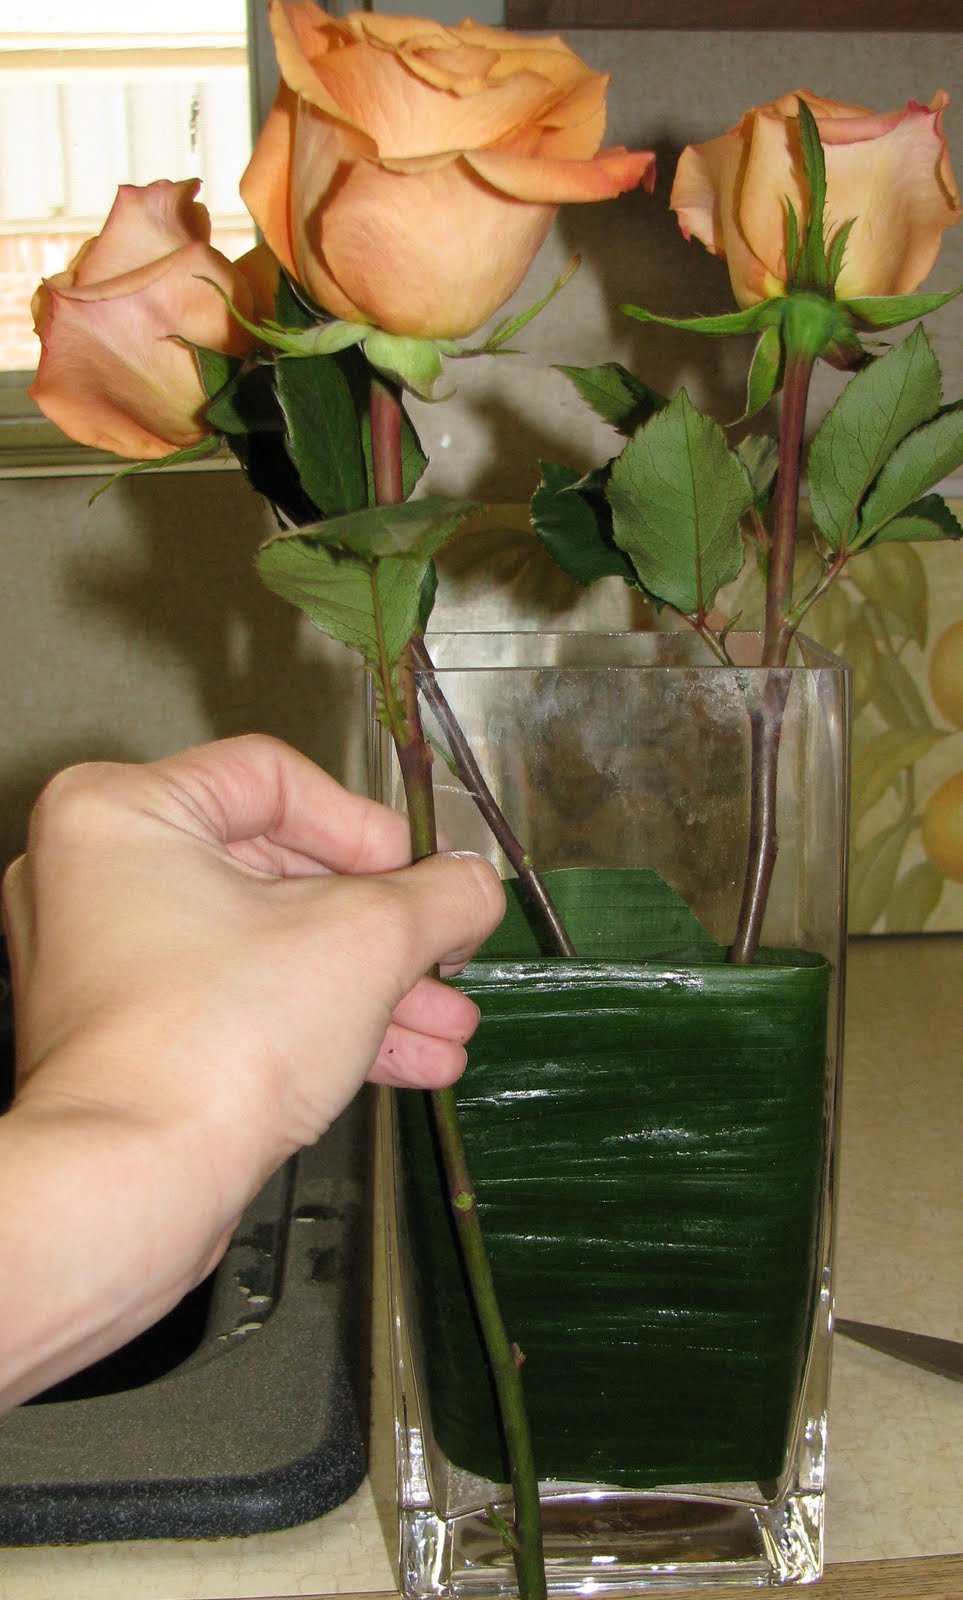
Then I went to a grocery florist to buy the vases, large heavy rectangle vases for only $7 each.  When I got home I washed them and cut large leaves from the plants in my backyard to line the inside of the vases and hide the stems.  This gives the arrangements a polished and more professional look.


I then divided up the roses evenly and cut them to the desired height I wanted them to sit in the vases.  I also pulled off any wilted and unsightly petals and excess leaves around the stalk leaving only a few at the bud.


Then to get even more creative I headed back out to my yard and clipped a few branches from a bush that was producing orange berries.  I clipped the branches to the desired height and let the berries just kind of organically hang over the edge of the vase.  I also pulled some leaves from another rather large monkey grass bush and created random loops around a few buds that I secured with floral wire to add more fill to the vases. 


After I arranged each vase as I described above, I then worked the buds around until they sat as I had desired and filled the vases with water and a bit of flower food that came with the roses.  I've also been told you can add a little sugar to the water, but I've never tried this.    Here they are below all lined up and ready to go.  Almost.  I could have stopped here and they would have been just fine for the event, but I decided to take them a step further. 


Since I made the baby bedding for the mother-to-be I headed to my studio and grabbed a few scraps of fabric that I cut with pinking shears to give the edges a zigzag cut and prevent the fabric from fraying.  I wrapped each vase in a different fabric with coordinating ribbon and secured the fabric in the back with straight pins.  And last the most popular vase of all was the monogrammed one with the baby's last name initial.


I hope you enjoyed my little tutorial and found some inspiration for your next dinner party or event!